
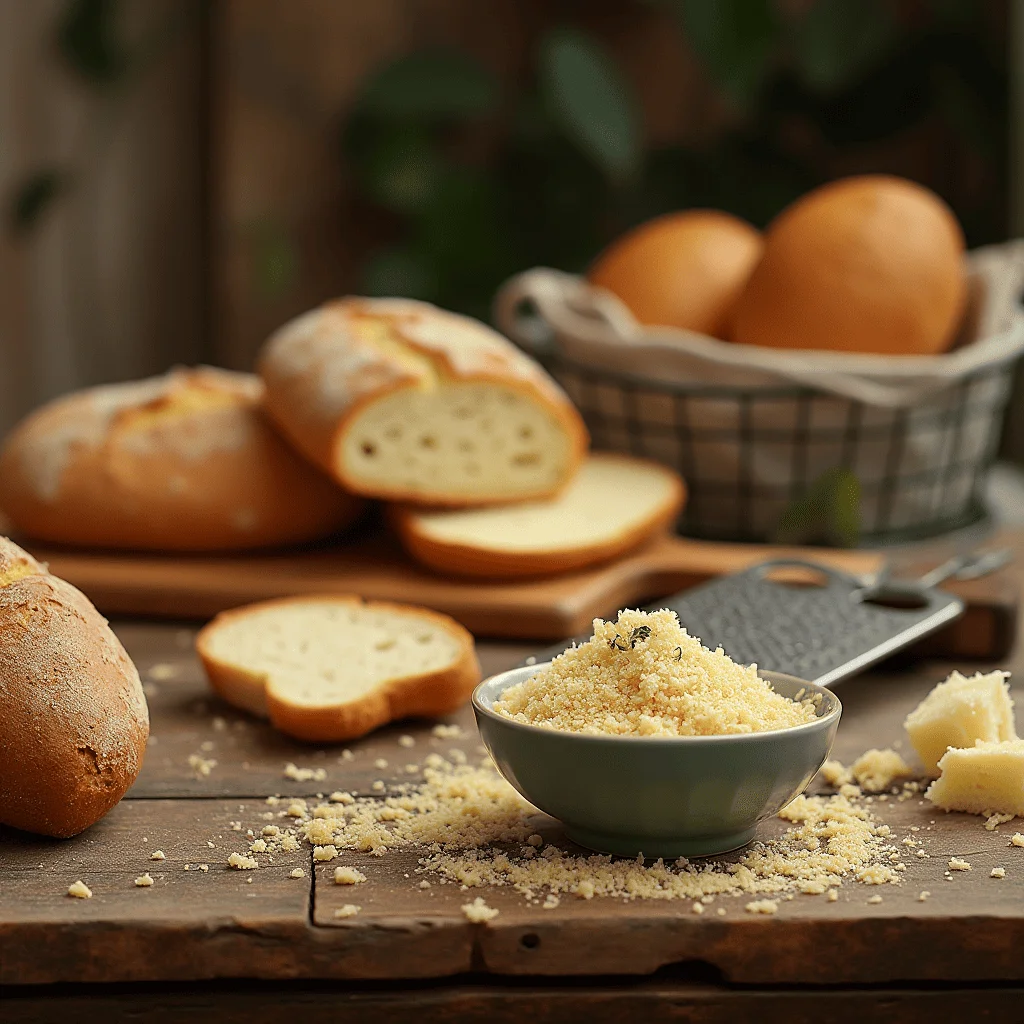
Perfect Bread and Crumbs
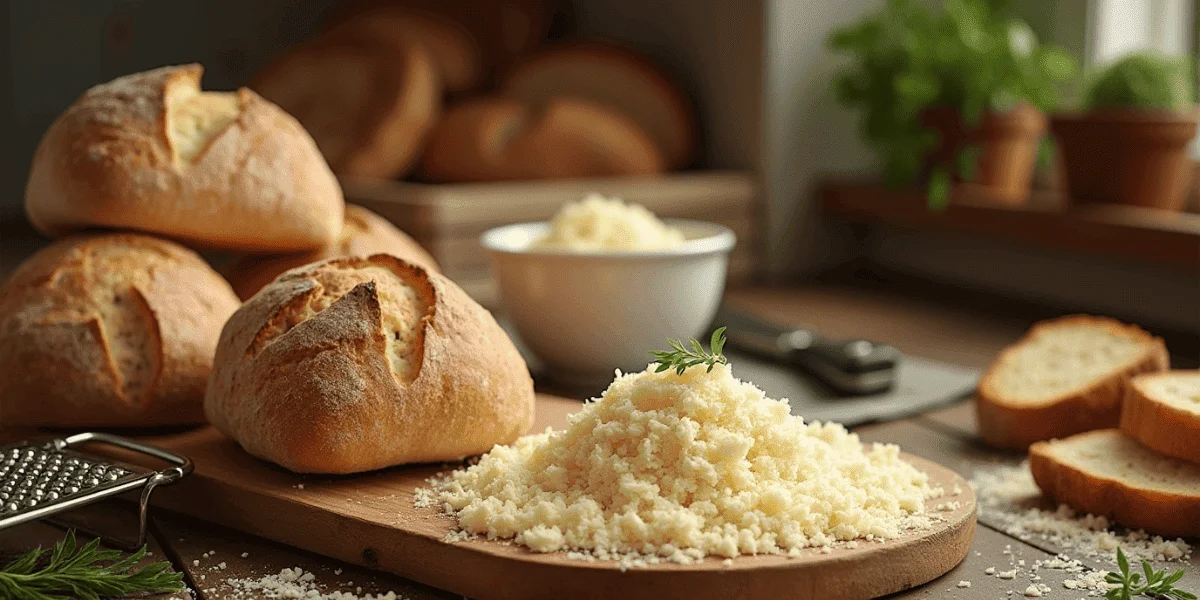
Have you ever found yourself tossing out stale bread, not realizing you’re discarding a hidden culinary treasure? You’re not alone. What may seem like an unusable leftover is actually the foundation for one of the most versatile kitchen staples—breadcrumbs. Whether you’re looking to add a crispy coating to chicken, bind ingredients in meatballs, or create a golden, flavorful topping for casseroles, mastering the art of homemade bread and crumbs can elevate your cooking to the next level.
Store-bought breadcrumbs might be convenient, but they often contain preservatives, unnecessary additives, and lack the depth of flavor that fresh, homemade crumbs provide. The secret to perfect breadcrumbs lies in choosing the right bread, understanding the different textures, and learning the best methods for storage and use. Not all crumbs are created equal—panko breadcrumbs, for example, deliver a delicate crunch, while finely ground breadcrumbs blend seamlessly into recipes. Knowing which type to use and when makes a noticeable difference in your dishes.
But here’s the best part: making homemade breadcrumbs is incredibly simple and allows you to control both texture and flavor. With just a few easy steps, you can transform ordinary bread into golden, crispy crumbs tailored to your favorite recipes. Plus, repurposing leftover bread reduces food waste—a win for both your wallet and the environment.
Choosing the Right Bread for the Best Crumbs
Not all bread is created equal when it comes to making the perfect breadcrumbs. The texture, moisture level, and flavor of your bread and crumbs will depend largely on the type of bread you use. Choosing the right bread ensures that your breadcrumbs enhance your dishes—whether you need a delicate crunch for a crispy coating or a soft, absorbent crumb for binding meatballs and stuffing.
Best Breads for Breadcrumbs
Different types of bread create different styles of crumbs, and knowing which to use will help you achieve the best results. Here are some of the top choices:
- White Bread: A classic choice for breadcrumbs, offering a neutral flavor and soft texture that blends well in most recipes. Ideal for making both fresh and dried breadcrumbs.
- Whole Wheat Bread: Adds a heartier texture and a subtle nutty flavor, making it great for stuffing or meatloaf.
- Sourdough: Creates a more rustic, slightly tangy crumb that works well for crunchy toppings and coatings.
- Baguette & Artisan Breads: These produce coarse bread crumbs that add a satisfying crunch to casseroles and baked dishes.
- Brioche & Challah: Slightly sweet and rich, these breads make flavorful breadcrumbs for gourmet recipes.
Fresh vs. Stale Bread: Which One is Better?
You might be wondering—should you use fresh or stale bread? The answer depends on the texture you’re aiming for:
Fresh Bread → Produces soft breadcrumbs, perfect for meatballs, stuffing, and thickening sauces.
Stale Bread → Easier to grind into dry, crispy breadcrumbs, making it ideal for breading fried foods or topping baked dishes.
Tip: If you only have fresh bread but need dry crumbs, slice it up and bake it at 300°F (150°C) for 10-15 minutes to remove moisture before grinding.
How to Prepare Bread for the Perfect Crumbs
Before turning your bread into crumbs, you’ll want to prep it properly to ensure the best texture:
- Cut the bread into cubes – This makes it easier to process and ensures even drying.
- Air dry or bake it – If using stale bread, leave it out for a day. For quick results, bake slices at a low temperature until crisp.
- Choose your grinding method – Use a food processor for fine breadcrumbs, a grater for a coarser texture, or a rolling pin for a rustic, chunky crumb.
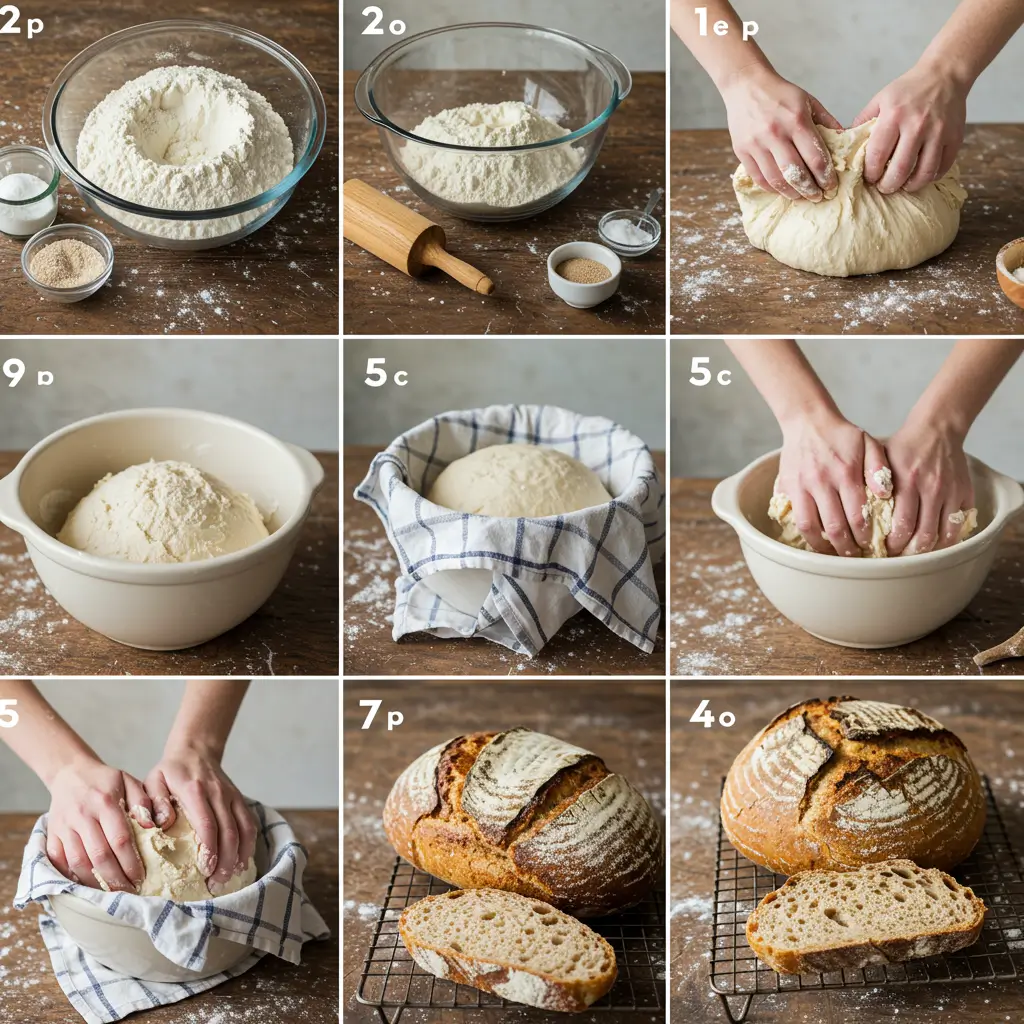
Step-by-Step Guide to Making Homemade Breadcrumbs
Making your own bread and crumbs at home is easier than you might think. Not only do homemade breadcrumbs offer fresher flavor and better texture, but they also allow you to control ingredients, ensuring a preservative-free and chemical-free option for your recipes. Whether you’re looking for fine, crispy breadcrumbs for coating fried foods or soft crumbs to mix into meatballs, this guide will walk you through the process step by step.
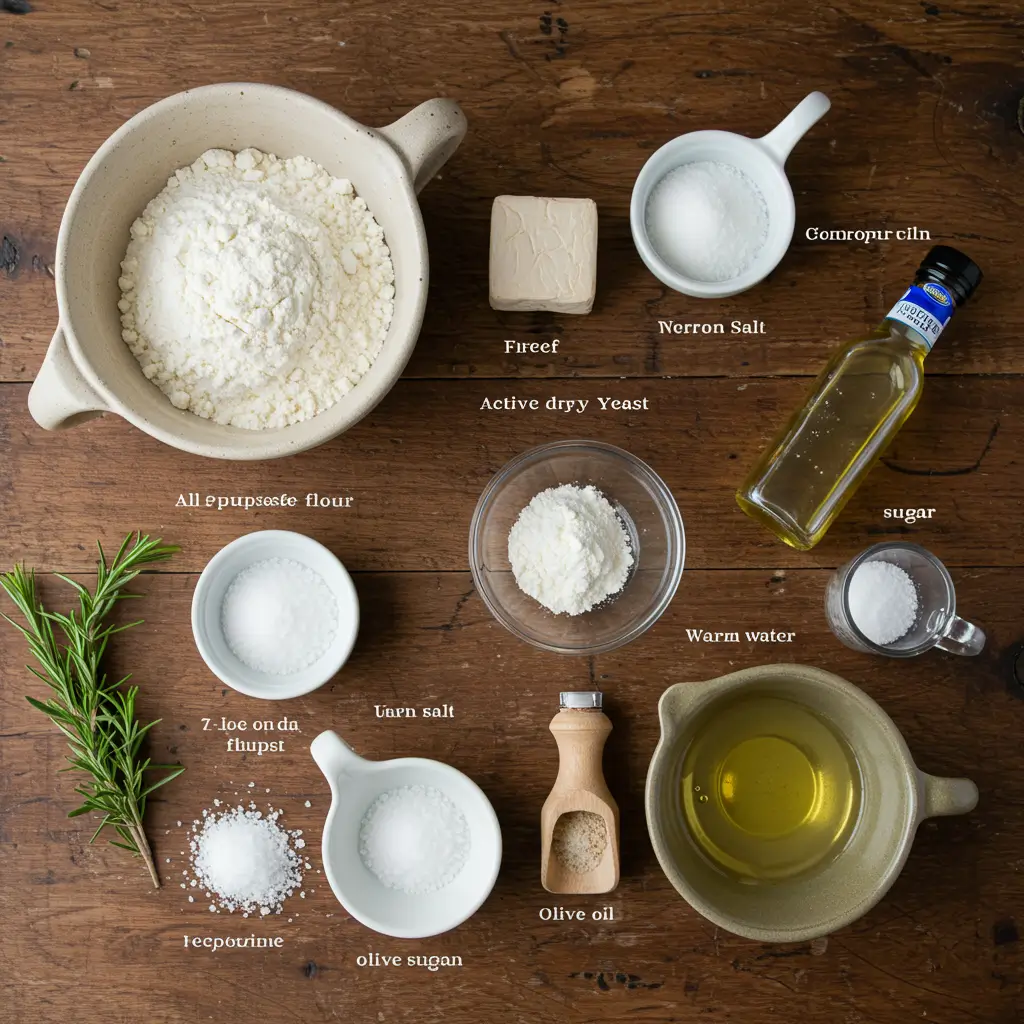
1. Gather Your Ingredients and Tools
make sure you have everything ready befor:
Bread of your choice – Fresh for soft crumbs, stale for dry ones
Oven or toaster – To dry out the bread if needed
Food processor, grater, or rolling pin – For grinding the bread into crumbs
Airtight container or freezer bag – For storing your homemade breadcrumbs
2. Choose Your Breadcrumb Type
The type of breadcrumbs you need depends on your recipe:
- Soft Breadcrumbs – Ideal for meatballs, meatloaf, and stuffing
- Fine Dry Breadcrumbs – Perfect for coating fried foods or as a topping for baked dishes
- Panko-Style Breadcrumbs – Light and airy, giving an extra crispy texture
3. Preparing the Bread
For Dry Breadcrumbs:
- Preheat your oven to 300°F (150°C).
- Slice or tear the bread into small pieces and arrange them on a baking sheet.
- Bake for 10-15 minutes, turning occasionally, until fully dried but not browned.
- Let the bread cool completely before grinding.
For Soft Breadcrumbs:
- Use fresh bread and remove the crusts if you want a finer texture.
- Tear the bread into small chunks.
- Process in a food processor until you reach the desired consistency.
4. Grinding the Bread into Crumbs
Once your bread is prepared, it’s time to turn it into breadcrumbs:
- Food Processor Method: The fastest and easiest way to get even crumbs. Pulse until you reach the right consistency.
- Grater Method: Great for creating coarser crumbs with a rustic texture.
- Rolling Pin Method: Place dried bread in a sealed plastic bag and crush it using a rolling pin.
5. Storing Your Homemade Breadcrumbs
To keep your breadcrumbs fresh, proper storage is key:
| Storage Method | Shelf Life | Best Practice |
|---|---|---|
| Airtight Container (Pantry) | 2-3 Weeks | Keep in a cool, dry place |
| Refrigerator | 1 Month | Store in an airtight bag |
| Freezer | 3-6 Months | Keep in a sealed bag, defrost before use |
Pro Tip: Label your storage container with the date so you can track freshness.
Final Thoughts: Elevate Your Dishes with Homemade Breadcrumbs
Now that you know how to make homemade breadcrumbs, you’ll never have to rely on store-bought versions again. Whether you need a fine crumb for binding or crispy panko for crunch, the choice is yours. Try experimenting with different breads and seasonings to customize the flavor to your liking.
Best Ways to Store and Use Your Homemade Breadcrumbs
Once you’ve mastered the art of making bread and crumbs, proper storage is key to maintaining their freshness and texture. Whether you’ve prepared a batch of soft crumbs for stuffing or crispy, golden breadcrumbs for frying, knowing how to store them correctly ensures they stay flavorful and ready for your next recipe. Plus, having a stash of homemade breadcrumbs on hand means you can instantly elevate your dishes with minimal effort.
How to Store Homemade Breadcrumbs for Maximum Freshness
Proper storage prevents moisture buildup and keeps your breadcrumbs from going stale or moldy. Here’s how to keep them fresh:
Room Temperature Storage (Short-Term Use)
If you plan to use your breadcrumbs within a few weeks, keeping them in your pantry is a convenient option.
- Store in an airtight container or a resealable plastic bag.
- Keep them in a cool, dry place, away from heat and moisture.
- Use within 2–3 weeks for the best flavor and texture.
2. Refrigerator Storage (Extended Freshness)
For a slightly longer shelf life, storing breadcrumbs in the refrigerator is a great option.
- Place them in a sealed container to prevent absorbing odors from other foods.
- Keeps breadcrumbs fresh for up to 1 month.
- Allow refrigerated breadcrumbs to come to room temperature before use to prevent clumping.
Freezing for Long-Term Storage
Want to keep breadcrumbs fresh for months? Freezing is the best solution.
- Spread breadcrumbs on a baking sheet and freeze them for 30 minutes to prevent clumping.
- Transfer to a freezer-safe bag and remove as much air as possible before sealing.
- Label with the date and store for up to 6 months.
- To use, simply scoop out what you need—no thawing required!
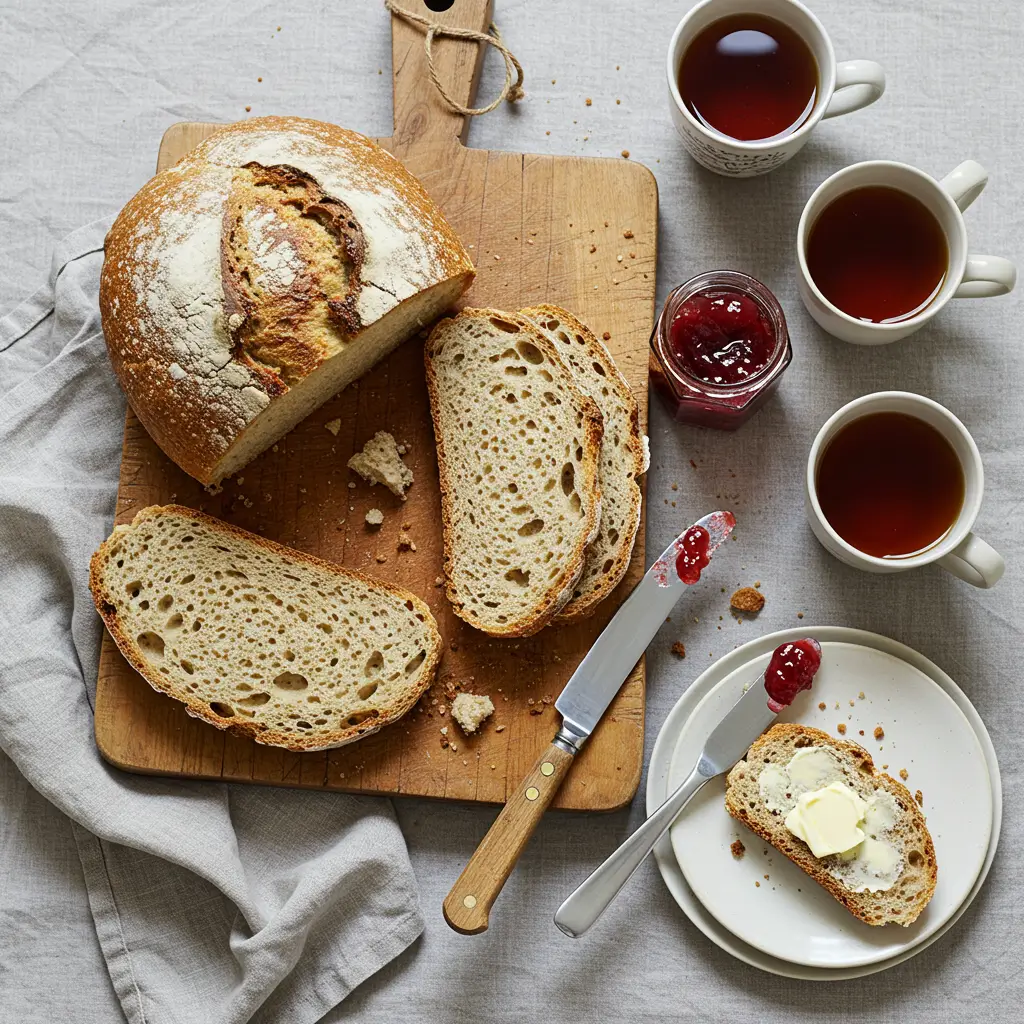
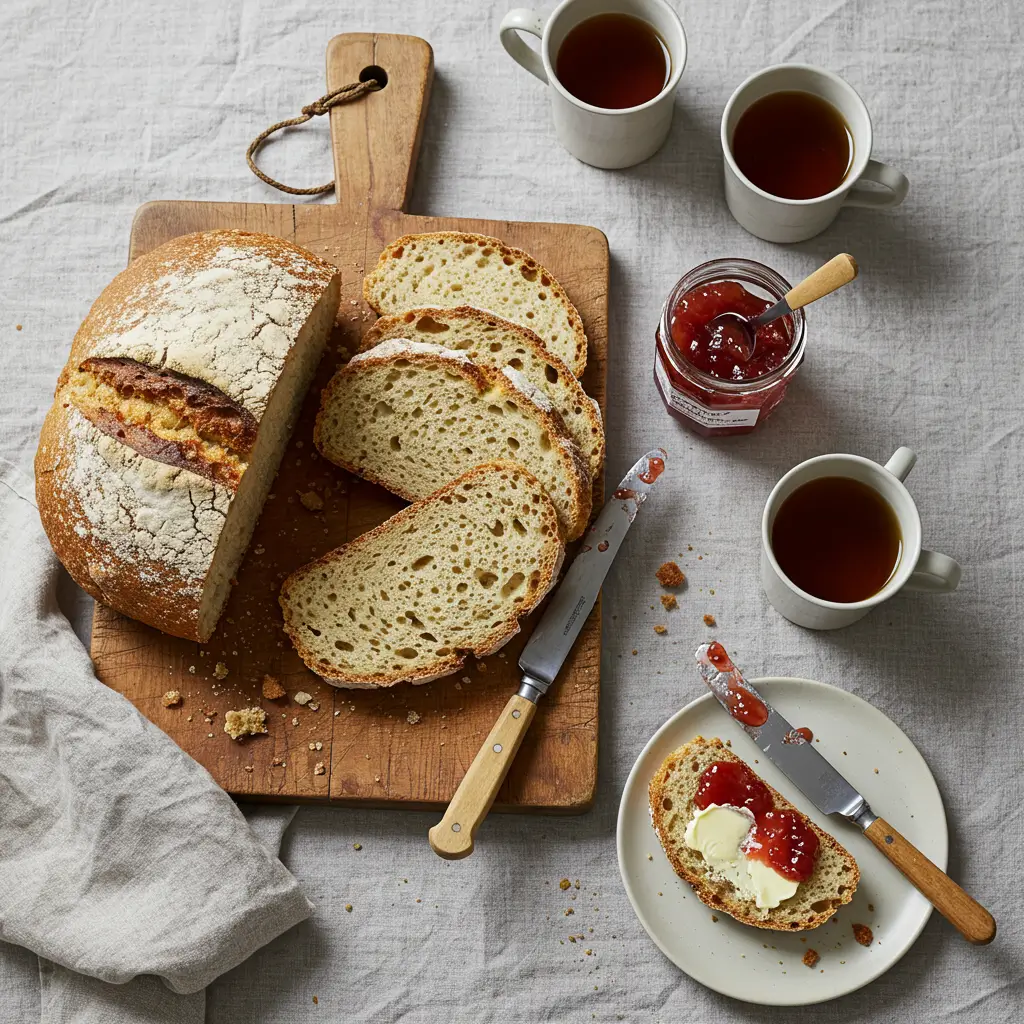
Best Ways to Use Your Homemade Breadcrumbs
Breadcrumbs aren’t just for coating fried foods! They add texture, flavor, and versatility to a variety of dishes. Here are some creative ways to use them:
- Crispy Coatings – Use seasoned breadcrumbs to coat chicken, fish, or vegetables before frying or baking.
- Meatball & Burger Binders – Soft breadcrumbs help absorb moisture, keeping meatballs and patties tender.
- Topping for Casseroles & Pasta – Sprinkle over mac and cheese, baked pasta, or gratins for a crunchy, golden crust.
- Thickening Agent – Stir into soups and stews for a heartier texture.
- Stuffing & Dressing – Use soft breadcrumbs as the base for Thanksgiving stuffing or vegetable fillings.
Final Thoughts: Keep Your Breadcrumbs Fresh and Flavorful
By storing your bread and crumbs the right way, you’ll always have fresh, homemade breadcrumbs ready to enhance your favorite recipes. Whether you keep them in the pantry for quick use, refrigerate them for extended freshness, or freeze them for long-term storage, proper handling ensures they stay crisp and full of flavor.
Simple Homemade Breadcrumb Recipes
Making your own bread and crumbs at home is not only cost-effective but also gives you complete control over flavor and texture. Whether you need classic fine breadcrumbs, crispy panko, or seasoned crumbs for extra taste, these simple homemade breadcrumb recipes will help you create the perfect batch for any dish.
Classic Plain Breadcrumbs (Perfect for Everyday Cooking)
If you’re looking for a neutral, all-purpose breadcrumb, this is the best recipe to start with.
Ingredients:
- 4 slices of stale or toasted bread (white, whole wheat, sourdough, or gluten-free)
Instructions:
- Preheat your oven to 300°F (150°C).
- Break or cut the bread into small chunks and spread them on a baking sheet.
- Bake for 10–15 minutes or until the bread is dry and crisp, but not browned.
- Let it cool completely, then pulse in a food processor or crush with a rolling pin until you reach the desired texture.
Best For: Meatballs, meatloaf, stuffing, or breading fried foods.
2. Crispy Panko-Style Breadcrumbs (Light, Airy, and Extra Crunchy)
Unlike traditional breadcrumbs, panko is made from crustless bread, creating a flakier and crunchier texture.
Ingredients:
- 6 slices of white bread (crusts removed)
Instructions:
- Tear bread into pieces and pulse in a food processor until you get coarse flakes.
- Spread crumbs evenly on a baking sheet.
- Bake at 300°F (150°C) for 7–10 minutes, stirring occasionally, until dry but still pale.
- Cool completely before storing.
Best For: Coating fried chicken, fish, tempura, or crunchy casserole toppings.
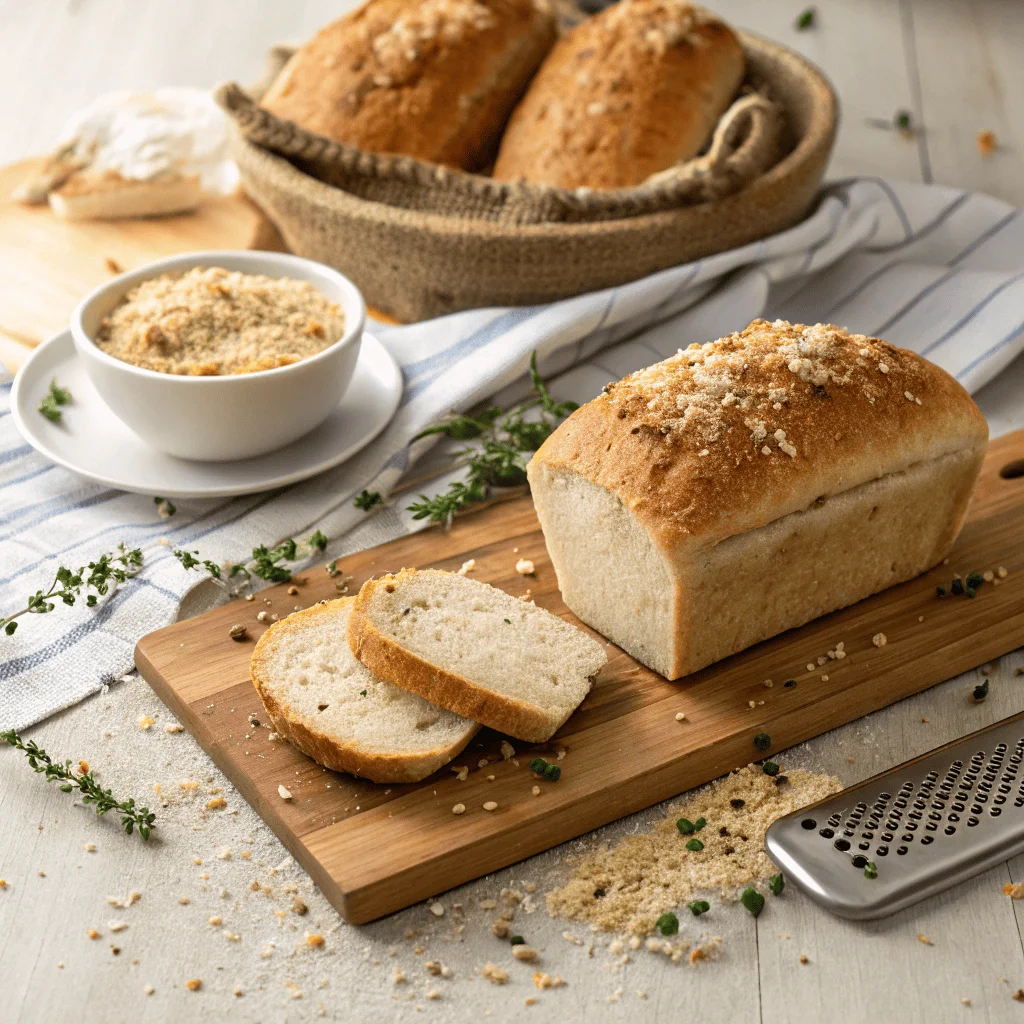
Italian-Seasoned Breadcrumbs (Packed with Flavor for Coatings & Fillings)
If you want ready-to-use breadcrumbs for recipes like breaded cutlets, mozzarella sticks, or baked casseroles, this seasoned version is a must-try.
Ingredients:
- 1 cup dry breadcrumbs (from Recipe #1)
- ½ tsp garlic powder
- ½ tsp onion powder
- 1 tsp Italian seasoning
- ½ tsp salt
- ¼ tsp black pepper
- ¼ cup grated Parmesan cheese (optional)
Instructions:
- Combine all ingredients in a bowl, mixing well to distribute the seasoning evenly.
- Store in an airtight container for up to 3 months.
Best For: Chicken parmesan, meatballs, stuffed mushrooms, and crispy baked dishes.
Gluten-Free Breadcrumbs (A Great Alternative for Gluten Sensitivities)
If you’re avoiding gluten, you can still enjoy crispy, flavorful breadcrumbs by using gluten-free bread.
Ingredients:
- 4 slices of gluten-free bread
Instructions:
- Follow the same process as Recipe #1, using gluten-free bread.
- Ensure the crumbs are completely dry before storing to prevent moisture buildup.
Best For: Any recipe that calls for traditional breadcrumbs but needs a gluten-free option.
Storing Your Homemade Breadcrumbs
To keep your breadcrumbs fresh and ready to use, store them properly:
| Storage Method | Best For | Shelf Life |
|---|---|---|
| Airtight container (pantry) | Short-term use | 2–3 weeks |
| Refrigerator | Extended freshness | 1 month |
| Freezer (best option) | Long-term storage | 3–6 months |
Final Thoughts: Elevate Your Cooking with Homemade Breadcrumbs
Making your own bread and crumbs is incredibly easy and allows you to customize the texture and flavor to suit your recipes. Whether you go for classic plain breadcrumbs, crispy panko, or a well-seasoned blend, these simple recipes will help you create a pantry staple that enhances any dish.
Conclusion: Elevate Your Cooking with Perfect Breadcrumbs
Now that you know the secrets to making perfect bread and crumbs, you can elevate your dishes in ways you never thought possible. Homemade breadcrumbs are not just a simple pantry staple—they’re a game-changer that enhances texture, flavor, and the overall experience of every meal. Whether you’re adding a crispy, golden topping to your casserole, using them to bind ingredients in meatballs, or creating a crunchy breading for fried foods, breadcrumbs can truly transform your cooking.
By choosing the right type of bread, mastering different methods of making breadcrumbs, and storing them properly, you ensure that your breadcrumbs are always fresh and ready to take your recipes to the next level. From classic plain breadcrumbs to seasoned versions, the possibilities are endless.
Why Homemade Breadcrumbs Make a Difference
- Control Over Quality: You know exactly what goes into your breadcrumbs—no additives or preservatives.
- Customization: You can adjust the seasoning, texture, and even the type of bread you use for a perfect match to your dish.
- Cost-Effective: Reuse leftover bread and reduce food waste while saving money compared to store-bought options.
FAQs About Bread and Crumbs
As you embark on your journey to perfect homemade bread and crumbs, it’s natural to have questions along the way. Whether you’re new to making breadcrumbs or looking for tips to enhance your techniques, this section addresses the most common queries, helping you become a breadcrumb expert. Let’s dive into the answers to your most pressing questions!
1. Can I use any type of bread to make breadcrumbs?
Yes! You can use almost any kind of bread to make breadcrumbs. From white and whole wheat to sourdough and gluten-free options, the type of bread you choose will impact the flavor and texture of your breadcrumbs. For softer, fresh breadcrumbs, use fresh bread; for firmer, drier crumbs (like those used for coating or breading), stale or toasted bread works best. Experiment with different varieties for unique flavors!
2. How do I make breadcrumbs without a food processor?
No food processor? No problem! You can make breadcrumbs by using alternative methods, such as:
- Grating by hand: Use a box grater to create coarse breadcrumbs.
- Rolling pin method: Place the bread in a sealed plastic bag and crush it with a rolling pin.
Both of these methods are excellent for creating chunkier, rustic breadcrumbs without the need for appliances.
3. How long do homemade breadcrumbs last?
The shelf life of your homemade breadcrumbs depends on how you store them:
- Room temperature: Up to 2–3 weeks in an airtight container.
- Refrigerated: They can last for about 1 month when kept in a sealed container.
- Frozen: For long-term storage, breadcrumbs can be frozen for up to 6 months. Just make sure to store them in a freezer-safe bag, and you’re good to go!
4. Can I make gluten-free breadcrumbs?
Absolutely! Simply use gluten-free bread in place of regular bread to make your gluten-free breadcrumbs. The process is the same as making traditional breadcrumbs, and you’ll still achieve that perfect texture and flavor. Gluten-free breadcrumbs are perfect for anyone with dietary restrictions and can be used in any recipe that calls for regular breadcrumbs.
5. How do I season my breadcrumbs for extra flavor?
Seasoning your bread and crumbs can elevate your dishes. You can add herbs and spices based on the recipe or your taste preferences. Some common seasonings for Italian-style breadcrumbs include:
- Garlic powder
- Onion powder
- Dried oregano
- Basil
- Parsley
You can also add Parmesan cheese for a rich, savory flavor. Just mix your desired seasonings into your breadcrumbs after they’ve been made and store them in an airtight container for later use.
6. What’s the best way to use breadcrumbs in cooking?
Breadcrumbs are incredibly versatile and can be used in a variety of dishes. Some great ways to incorporate them include:
- Coating meats: Use them for breading chicken, fish, or veggies.
- Stuffings: Add soft breadcrumbs to your stuffing mix for extra moisture.
- Topping casseroles or baked dishes: A sprinkle of breadcrumbs creates a crispy, golden crust.
- Binding ingredients: Use breadcrumbs in meatballs, meatloaf, or veggie patties to hold everything together.
7. Can I freeze breadcrumbs?
Yes! Freezing is an excellent way to store breadcrumbs for long periods. Simply spread the crumbs out on a baking sheet to freeze them individually for about 30 minutes, then transfer them to a freezer-safe bag. They can be kept for up to 6 months, and you can take out exactly what you need without having to thaw the whole batch.
8. How do I make breadcrumbs finer or coarser?
Adjusting the texture of your breadcrumbs is easy:
- Finer crumbs: Use a food processor or blender and pulse for a shorter amount of time.
- Coarser crumbs: Use fewer pulses or grate the bread by hand.
You can experiment with different methods to achieve the ideal texture for your recipe.
Are You Try This Recipe ?
There are no reviews yet. Be the first one to write one.
