
Smoked Fish Brine Recipe
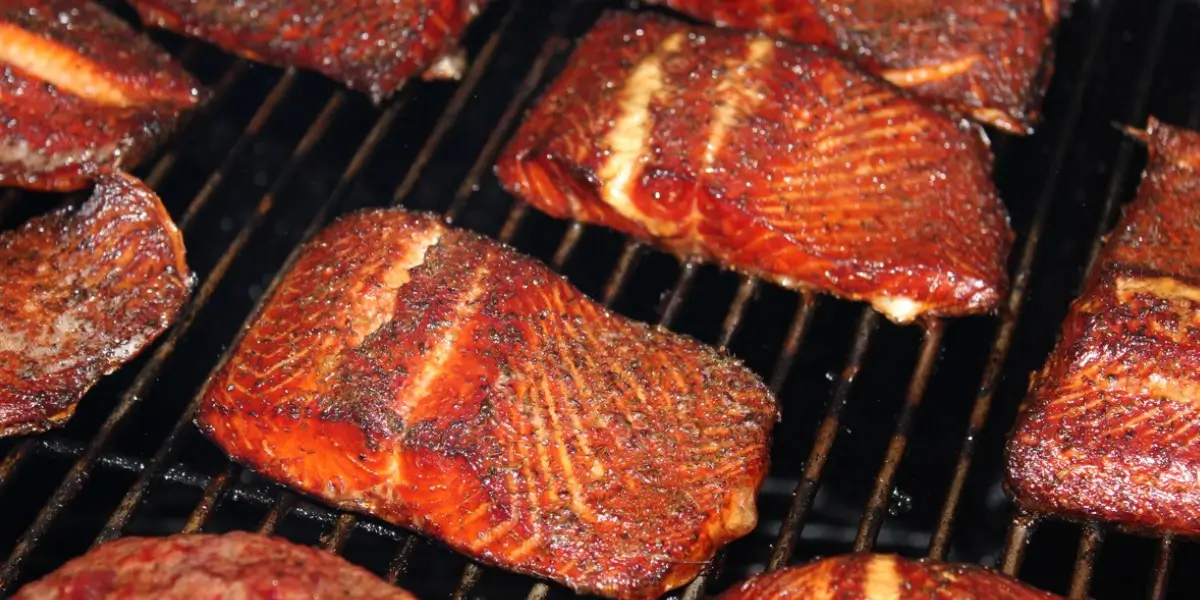
There’s something almost magical about biting into perfectly smoked fish—that delicate balance of smoky depth, tender flesh, and subtle seasoning that makes you close your eyes and savor every bite. If you’ve ever wondered how professional smokehouses achieve that incredible flavor and texture, the secret often starts long before the fish touches the smoker. It starts with smoked fish brine.
When I first started smoking fish at home, I made the rookie mistake of skipping the brining step, thinking it was just an unnecessary extra step. The result? Dry, unevenly flavored fish that tasted nothing like what I got from my favorite seafood restaurant. That’s when I discovered that a proper smoked fish brine isn’t just a nice-to-have—it’s the foundation of exceptional smoked fish. Whether you’re smoking salmon, trout, mackerel, or halibut, understanding how to create and use the right brine will transform your results from mediocre to restaurant-quality.
In this guide, you’ll learn everything you need to know about smoked fish brine, from the science behind why brining works to step-by-step recipes you can start using today.
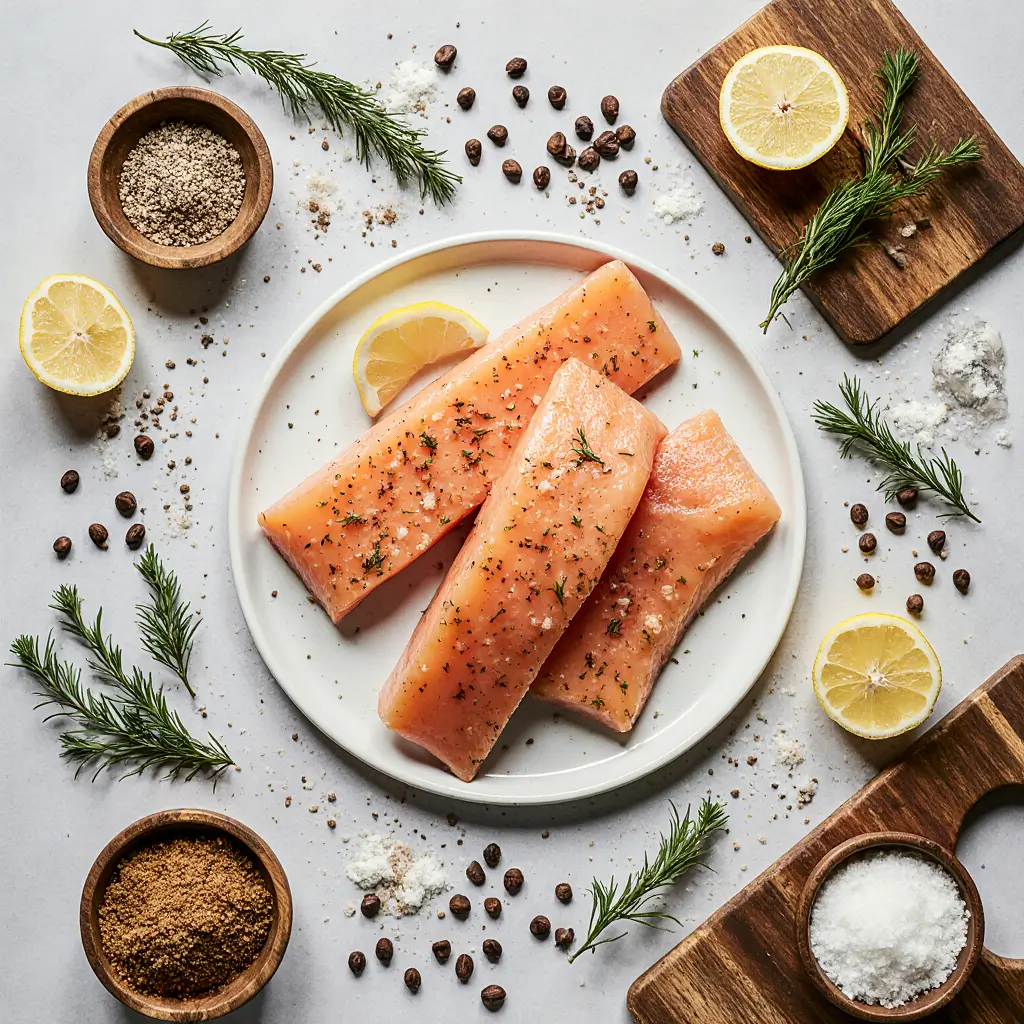
Ingredients
Method
- Step 1: Prepare the Brine Base (5 minutes)
- Pour 1 gallon of filtered water into a large pot. Add 1 cup kosher salt. Stir constantly until all salt dissolves completely. This creates the foundation of your smoked fish brine.
- Step 2: Add Sweeteners (3 minutes)
- While water is still warm, add 1/2 cup maple syrup and 1/4 cup brown sugar. Stir thoroughly until completely dissolved. These sweeteners balance the saltiness and create the characteristic flavor of quality smoked fish brine.
- Step 3: Add Aromatics and Spices (2 minutes)
- Add crushed peppercorns, bay leaves, crushed garlic, fresh thyme, and optional coriander and fennel seeds. Stir well to distribute all ingredients evenly throughout your brine.
- Step 4: Cool the Brine (5 minutes)
- Allow the brine to cool to room temperature, then refrigerate until completely chilled (ideally 35-40°F). Never use warm brine for fish—this creates food safety risks and prevents proper brining.
- Step 5: Prepare Your Fish
- Pat fish dry and submerge completely in chilled smoked fish brine. Use a weight or plate to keep fish submerged below the liquid surface. This prevents oxidation and ensures even brining.
- Step 6: Brine Duration
- Refrigerate fish in brine for 12-16 hours for thin fillets (1/2 inch or less), 16-24 hours for medium fillets (3/4 to 1 inch), or 24-36 hours for thick steaks (1-1.5 inches). Do not exceed recommended brining time to avoid over-salting.
- Step 7: Remove and Dry
- Remove fish from brine and rinse thoroughly under cold running water for 1-2 minutes. Pat completely dry with paper towels. Place on wire rack in cool area (50-60°F) for 30-60 minutes to form pellicle before smoking.
The Science Behind Smoked Fish Brine: Why Brining Actually Works
How Salt Penetrates Fish Tissue and Preserves Moisture
You might assume that salt would dry out your fish, but the opposite is actually true. When you submerge fish in a smoked fish brine, something called osmosis occurs. Initially, the salt draws moisture from the outer layer of the fish. However, as the brining process continues, the salt dissolves and creates a solution that actually prevents moisture loss during smoking.
Here’s what’s happening at a cellular level: salt molecules break down the muscle proteins in the fish, allowing the brine to penetrate deep into the tissue. This creates what food scientists call “protein modification,” which helps the fish retain moisture during the smoking process. The result is flesh that stays tender and juicy rather than becoming tough and stringy. Think of it as pre-seasoning your fish from the inside out while simultaneously creating a protective barrier against the drying effects of heat and smoke.
Flavor Development and Seasoning Distribution
A smoked fish brine does more than just preserve moisture—it’s also your primary seasoning tool. When you use a quality brine, you’re infusing your fish with flavor that’s evenly distributed throughout the meat. Unlike dry rubs or surface seasonings, a brine ensures consistent flavor from the exterior to the deepest parts of the fillet.
The beauty of brining is that you can customize the flavor profile completely. Brown sugar adds sweetness that balances smokiness, maple syrup contributes earthy complexity, and aromatics like garlic, dill, and bay leaves create layers of flavor that complement the natural taste of the fish. When combined with the smoke itself, these pre-infused flavors create a depth that’s impossible to achieve without proper brining.
Creating Your Smoked Fish Brine: Essential Recipes and Techniques
Basic Dry and Wet Brine Formulas for Different Fish Species
The foundation of any smoked fish brine starts with salt and water—the two most critical components. However, the ratio and additional ingredients can vary depending on the type of fish and your desired flavor outcome.
Classic Wet Brine (for most fish, like salmon and trout):
- This traditional approach involves dissolving salt in water along with sugar and spices
- The ratio is typically 1 cup of salt per gallon of water, which creates a 10% salinity solution
- Wet brines allow for faster penetration and are ideal for smoking timeframes of 8-24 hours
- You’ll submerge your fish completely, keeping it refrigerated throughout the process
Dry Brine (for denser fish like mackerel and halibut):
- A dry brine uses salt and seasonings rubbed directly onto the fish without liquid
- This method creates a concentrated salt layer that draws out moisture initially, then reabsorbs it
- Dry brines typically require 12-48 hours and produce a more developed crust
- This technique is excellent for creating that coveted pellicle (the tacky surface layer that smoke adheres to)
Equilibrium Curing Brine (for precise control):
- This advanced method uses a specific salt percentage based on fish weight (usually 2-3%)
- It’s calculated as: (fish weight in grams × desired salt percentage) ÷ 100 = salt amount needed
- The brine draws out exactly as much moisture as it replaces, creating a perfect balance
- Professional smokehouses often use this method for consistency
| Brine Type | Salt Concentration | Best For | Brining Time | Flavor Intensity |
|---|---|---|---|---|
| Classic Wet Brine | 10% | Salmon, trout, char | 8–24 hours | Medium |
| Dry Brine | Concentrated rub | Mackerel, halibut, sturgeon | 12–48 hours | Strong |
| Equilibrium Cure | 2–3% of fish weight | All fish, professional results | Variable | Customizable |
| Quick Brine | 8–12% | Time-sensitive situations | 2–6 hours | Light |
Flavor Customization: From Sweet to Savory Smoked Fish Brine Recipes
The true art of smoked fish brine lies in flavor customization. Here are three distinct recipes that showcase different flavor profiles:
Sweet Maple Smoked Fish Brine. This recipe balances the intensity of smoke with subtle sweetness. Perfect for salmon and trout, this smoked fish brine creates a glaze-like finish when the pellicle forms.
- 1 cup kosher salt
- ½ cup maple syrup
- ¼ cup brown sugar
- 1 gallon of water
- 2 tablespoons black peppercorns
- 4 bay leaves
- 6 cloves garlic, crushed
- 2 tablespoons fresh thyme
Combine water and salt in a large pot, stirring until dissolved. Add remaining ingredients and bring to a simmer for 5 minutes. Cool completely before submerging the fish. This brine works best with a 12-16-hour brining time.
Citrus and Dill Smoked Fish Brine. Ideal for lighter fish like halibut or Arctic char, this recipe introduces brightness that complements delicate smokiness.
- 1 cup sea salt
- ⅓ cup honey
- 1 gallon of water
- 2 lemons, sliced
- 1 orange, sliced
- ¼ cup fresh dill
- 1 tablespoon coriander seeds
- 1 teaspoon fennel seeds
Dissolve salt and honey in water. Add remaining ingredients and let sit for 2 hours before brining. This combination creates a crisp, sophisticated flavor profile perfect for 10-18 hour brining periods.
Asian-Inspired Smoked Fish Brine This smoked fish brine brings umami depth and complexity, ideal for mackerel or darker fish varieties.
- 1 cup kosher salt
- ½ cup brown sugar
- ¼ cup soy sauce
- 2 tablespoons mirin
- 1 gallon of water
- 1 tablespoon star anise
- 2-inch ginger piece, sliced
- 4 green onions, chopped
- 1 tablespoon sesame seeds
Combine water, salt, and sugar. Add remaining ingredients and cool before using. This smoked fish brine develops best over 14-20 hours and creates an incredibly flavorful crust.
Advanced Brining Techniques and Pro Tips for Maximum Results
Achieving the Perfect Pellicle and Surface Texture
The pellicle is the slightly tacky, semi-dried surface layer that forms on your fish after brining and drying—and it’s absolutely crucial for smoke adhesion and flavor development. Without a proper pellicle, smoke simply slides off your fish rather than bonding to it, resulting in surface-level flavoring only.
To achieve the perfect pellicle after brining, remove your fish from the smoked fish brine and rinse it thoroughly under cold water. Pat it completely dry with paper towels. Then place it on a wire rack in a cool, well-ventilated area (or use a refrigerator with the door slightly ajar) for 30-60 minutes. You should see a glossy, almost sticky layer develop on the surface. This is your pellicle, and it’s exactly what you want before smoking.
Temperature control during pellicle formation is critical. Aim for 50-60°F if possible. At warmer temperatures, you risk bacterial growth. At colder temperatures, pellicle formation slows significantly. If you’re working with thick fillets, extend your pellicle time to 90 minutes. This extra time ensures that the moisture rebalancing penetrates all the way through to the thickest parts of the fish.
Water Temperature, Brining Duration, and Fish Thickness Considerations
The thickness of your fish directly impacts how long your smoked fish brine needs to work. Thin fillets (½ inch or less) require only 6-10 hours of brining, while thick steaks (1-1½ inches) need 18-24 hours to achieve proper seasoning and moisture distribution. Whole fish can require 24-36 hours, depending on size.
Water temperature during brining also matters more than most home smokers realize. Cold brining (35-40°F) is essential for food safety, especially during longer brining periods. Room temperature brining (65-70°F) accelerates salt penetration but significantly increases bacterial growth risk. Always brine in the refrigerator and never leave your fish brining at room temperature for extended periods.
One advanced technique is the “reverse chill”: After brining for half the recommended time, remove the fish, pat it dry completely, and let it air-dry in the refrigerator for 2-4 hours. Then return it to the smoked fish brine for the remaining time. This process maximizes flavor penetration while also accelerating pellicle formation.
Common Mistakes and How to Avoid Them When Making Smoked Fish Brine
Over-Salting and Other Brining Disasters
The most common mistake home smokers make is over-salting their smoked fish brine. While salt is essential, too much creates an inedible, overly salty result that overshadows all other flavors. The sweet spot for most brines is around 10% salinity (1 cup salt per gallon of water). If you’re unsure, you can test your brine with a floating egg: a raw egg should float in a properly salted brine. If it sinks, add more salt; if it floats too high, dilute with water.
Another common disaster is being brought for too long. There’s a limit to how long fish benefits from brining. Beyond 24-36 hours (depending on fish thickness), the salt begins extracting moisture faster than it’s being replaced, and you end up with dry fish—the opposite of what you’re trying to achieve. Set a timer and treat it like a precise cooking step, not something you can leave overnight indefinitely.
Contamination is also a serious concern that many home smokers underestimate. Your brining vessel must be impeccably clean, and your brine must stay refrigerated. Never reuse a smoked fish brine that’s been sitting at room temperature. Additionally, ensure your fish is fresh (ideally smoked within 24 hours of brining) and that your hands and all equipment are clean before handling brined fish.
Signs Your Smoked Fish Brine Has Gone Wrong
Before you smoke that fish, make sure your brine looks and smells right. A quality smoked fish brine should be clear or slightly cloudy (depending on ingredients) and should smell aromatic and pleasant. If your brine develops a sour or off smell, if you notice any cloudiness or discoloration that wasn’t present initially, or if there’s any visible mold or slime, discard it immediately.
Fish that’s been over-brined will feel mushy or overly soft to the touch. Properly brined fish should still feel firm when pressed gently. If you accidentally over-brine, you can sometimes salvage the batch by rinsing very thoroughly and smoking immediately at a slightly higher temperature to firm up the exterior, but prevention is always better than rescue attempts.
FAQ: Your Smoked Fish Brine Questions Answered
Q: Can I use tap water in my smoked fish brine, or should I use filtered water?
A: While tap water works in a pinch, filtered or distilled water produces superior results. Tap water often contains chlorine and other chemicals that can interfere with flavor development and pellicle formation. If you only have tap water available, let it sit uncovered for 24 hours to allow chlorine to evaporate before using it in your smoked fish brine. Many professional smokehouses use filtered water exclusively for this reason. The small investment in filtered water pays dividends in final product quality.
Q: How do I adjust a smoked fish brine recipe for different salt types like Himalayan pink salt or sea salt?
A: Different salts have different densities, which affects measurement. Kosher salt is the standard for brining because it’s less dense than table salt. If using sea salt or Himalayan pink salt in your smoked fish brine, use about 15-20% less by volume than a recipe calls for. For example, if a recipe calls for 1 cup kosher salt, use ¾ to ¾ cup plus 2 tablespoons of sea salt instead. Always taste a small sample of your brine before committing the fish to ensure proper salinity. You can always add more salt, but you can’t remove it.
Q: What’s the difference between hot smoking and cold smoking in terms of brining requirements for smoked fish brine?
A: Cold smoking (below 90°F) produces delicate, lox-like results and requires more aggressive brining to prevent spoilage and develop adequate flavor, typically 24-36 hours with slightly higher salt concentration. Hot smoking (above 160°F) cooks the fish during the smoking process, so you can use a lighter smoked fish brine and shorter brining times (8-16 hours) since some flavor development happens during cooking. For hot smoking, you want moisture retention but not as much flavor density since the heat intensifies everything. For cold smoking, you’re relying entirely on your brine for flavor since no cooking occurs, so the smoked fish brine carries much more of the flavor burden.
Q: Can I make smoked fish brine ahead of time and store it, or should I make it fresh each time?
A: You can absolutely make smoked fish brine in advance and store it in the refrigerator for up to 2-3 weeks, which is convenient for regular smokers. Store your prepared smoked fish brine in glass jars or food-grade plastic containers with tight-fitting lids. Some smokers even freeze smoked fish brine in ice cube trays for easy portioning. However, if your brine contains fresh ingredients like citrus slices or fresh herbs, use it within 1-2 weeks for best results. Spice-based brines (like the Asian-inspired version) actually improve with age as flavors meld, making them perfect candidates for preparation.
Q: Is there a way to test my smoked fish brine for proper salinity without a specific tool?
A: Yes! The floating egg test is the traditional method that professional salt curers have used for centuries. Place a raw egg in its shell into your smoked fish brine. If the egg floats, your salinity is perfect (around 10%). If it sinks to the bottom, add more salt incrementally and test again. If it floats to the very top, your brine is too salty—dilute it gradually with water. This simple test removes the guesswork and ensures consistent results every time you make smoked fish brine.
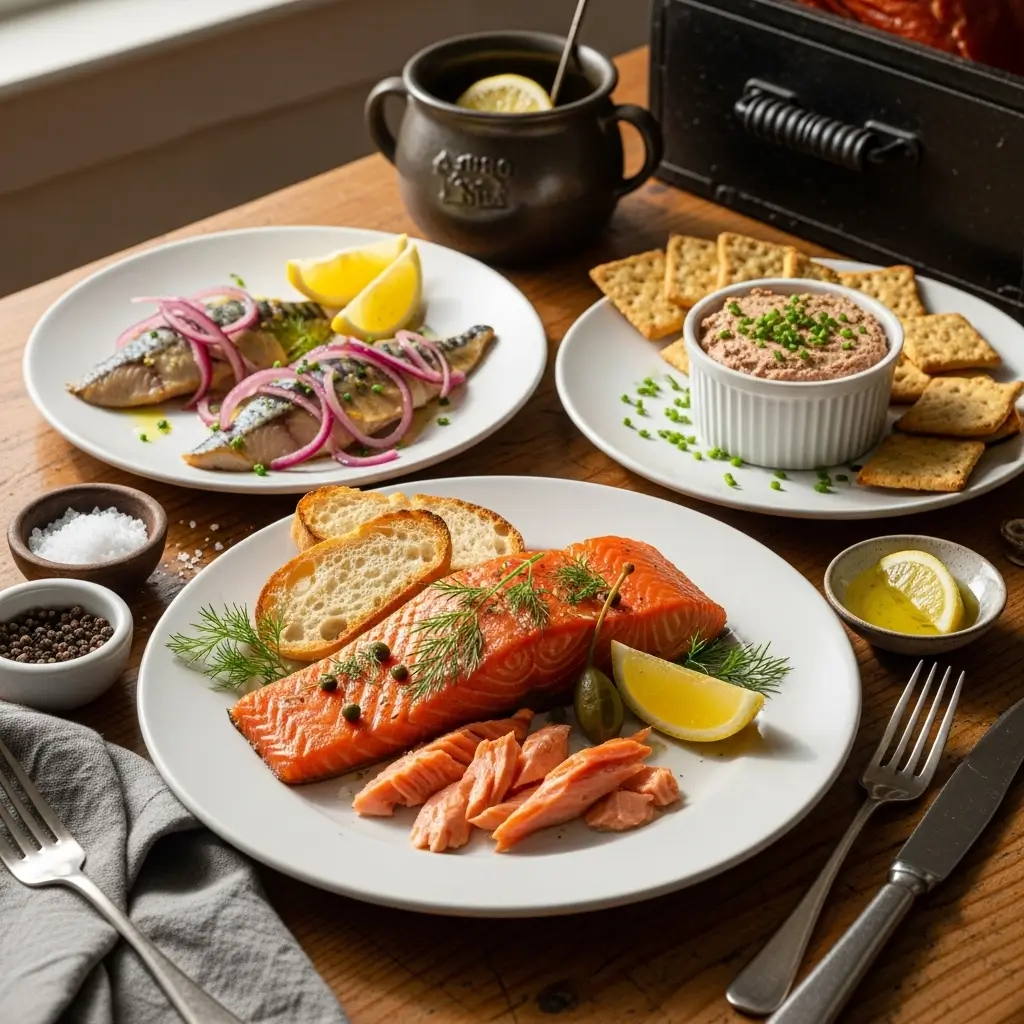
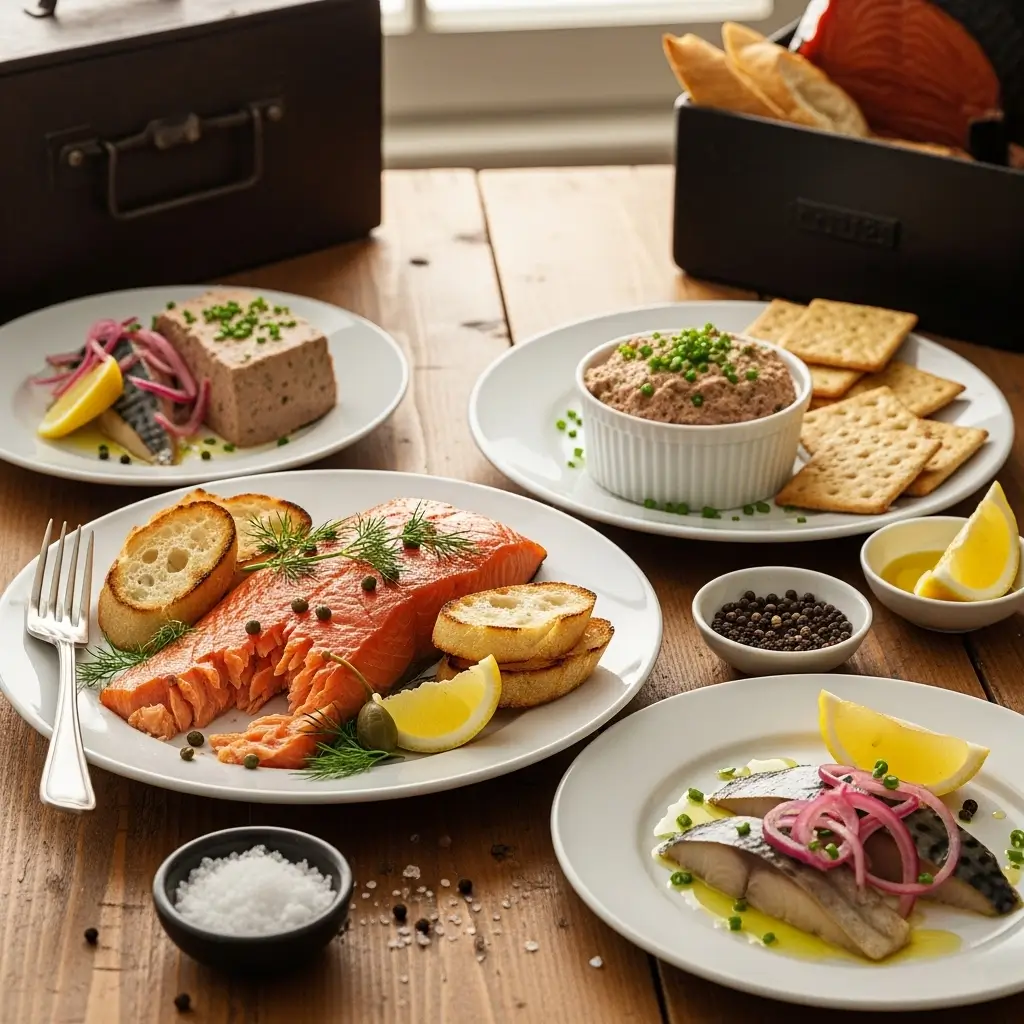
Conclusion: From Brine to Plate
A perfect smoked fish brine is the unsung hero of exceptional smoked fish. It’s the difference between mediocre results and restaurant-quality smoked salmon, trout, mackerel, or whatever fish you choose to smoke. By understanding the science behind why brining works, following proven recipes, and avoiding common mistakes, you now have everything you need to elevate your smoking game.
Remember, the foundation of great smoked fish brine is simplicity: quality salt, fresh water, and thoughtfully chosen seasonings. Don’t feel pressured to create complicated brines with dozens of ingredients. Some of the best results come from mastering the fundamentals—proper salt concentration, appropriate brining time, and excellent pellicle formation.
Start with the Classic Wet Brine if you’re new to brining fish, then experiment with the flavor variations once you’re comfortable with the process. Each brine formula teaches you something new about how flavors develop and how salt interacts with fish tissue. Before you know it, you’ll be developing your own signature smoked fish brine recipes that your friends and family will be begging you to share.
Final Call to Action
Ready to transform your smoked fish? Start today with one of the recipes in this guide, and prepare yourself for the incredible results you’re about to achieve. Share your smoked fish brine experiments and results in the comments below—I’d love to hear which flavor profile became your favorite. And if you found this guide helpful, bookmark it for future reference and share it with fellow smoking enthusiasts in your network. Your next batch of smoked fish is waiting, and it all starts with the perfect brine.
