
The Ultimate Hello Kitty Cake Decorating Ideas For Fans
If you’re a Hello Kitty fan, there’s nothing quite like celebrating your love for the iconic cat with a beautifully decorated Hello Kitty cake. Whether you’re preparing for a birthday, special event, or simply indulging in a fun baking project, creating a Hello Kitty cake brings joy to the process and the party. There’s something special about how the combination of her cute, simplistic design and vibrant colors can instantly make any celebration feel extra special. Imagine the smiles when your friends and family see that adorable face made from fondant and buttercream—it’s guaranteed to brighten anyone’s day.
You don’t need to be a professional baker to create a stunning Hello Kitty cake. With a few simple tools, ingredients, and creative ideas, you can bring the beloved character to life right in your kitchen. From easy, beginner-friendly designs to intricate, multi-layered creations, the possibilities are endless.
In this guide, you’ll find step-by-step instructions, decorating tips, and a variety of ideas that cater to all skill levels. Whether you’re new to cake decorating or already have some experience, these Hello Kitty cake ideas will help you craft a cake that not only looks amazing but also tastes delicious. Ready to bring your cake decorating skills to life? Let’s dive into the ultimate Hello Kitty cake decorating ideas for fans like you!
Understanding the Basics of Hello Kitty Cake Design
When it comes to designing a Hello Kitty cake, the key is simplicity and cuteness. Hello Kitty’s iconic features—her round face, sweet bow, and signature whiskers—make it easy to replicate her design on a cake. However, there are a few essentials you need to know before you start decorating. This section will guide you through the basics of Hello Kitty cake design, ensuring your cake not only looks great but also tastes amazing.
What Makes a Hello Kitty Cake Special?
Hello Kitty has a timeless appeal, and her adorable design makes her the perfect inspiration for cake decoration. The charm lies in the simplicity of her face—round and expressive, with big eyes, a small nose, and a fun bow on one ear. Her design is easily recognizable, so even if you’re not an expert baker, you can create a cake that fans of all ages will adore.
The simplicity of Hello Kitty’s features means you don’t need advanced cake-decorating skills to create a masterpiece. Whether you’re going for a minimalistic design or a more detailed cake, Hello Kitty’s basic features are easy to replicate, making her the ideal character for both beginners and seasoned decorators alike.
Essential Tools and Ingredients for Making a Hello Kitty Cake
Before you start designing your cake, it’s crucial to gather all the necessary tools and ingredients. Here’s what you’ll need to bring your Hello Kitty cake vision to life:
- Ingredients:
- Cake Mix (vanilla or any preferred flavor): This serves as the base of your Hello Kitty cake.
- Buttercream Frosting: This will give your cake a smooth, creamy texture.
- Fondant: For creating Hello Kitty’s face and details like her bow and whiskers.
- Food Coloring: Pink for the bow and details, and black for the eyes and whiskers.
- Edible Glitter (optional): Adds a touch of sparkle to your cake for extra flair.
- Tools:
- Fondant Rollers & Cutters: For shaping Hello Kitty’s face and bow.
- Piping Bags: Ideal for adding the delicate details like the whiskers and mouth.
- Offset Spatula: Perfect for spreading frosting evenly and smoothly.
Baking and Preparing Your Cake Base
To create the perfect Hello Kitty cake, you’ll first need to bake a cake that’s sturdy enough to hold all of the decorations. You can use a simple vanilla cake or get creative with different flavors. Once the cake is baked, make sure it’s fully cooled before you start decorating.
- Tip: If you want a layered cake, consider using two round cakes stacked on top of each other. This will provide enough space to carve out Hello Kitty’s face and give you a solid structure for your design.
Once your cake is cooled, apply a thin layer of buttercream frosting to seal in the crumbs, creating a smooth surface for the fondant to adhere to. This is known as the crumb coat and is an essential step in achieving a professional-looking finish.
Creative Hello Kitty Cake Decorating Ideas for Fans
If you’re a Hello Kitty fan, you already know how her cute, timeless design can make any occasion feel extra special. But how can you take that charm and turn it into a show-stopping Hello Kitty cake that will impress your guests? Whether you’re looking for simple designs or something more intricate, there are countless creative decorating ideas that will bring this iconic character to life in a way that suits your skills and style. In this section, you’ll find exciting Hello Kitty cake decorating ideas that will make your cake the star of any party.
Simple and Easy Hello Kitty Cake Designs
You don’t have to be a professional baker to create a beautiful Hello Kitty cake. With a few basic ingredients and tools, you can craft a stunning cake that captures the essence of Hello Kitty’s cute face. Here are some ideas for simple yet striking designs:
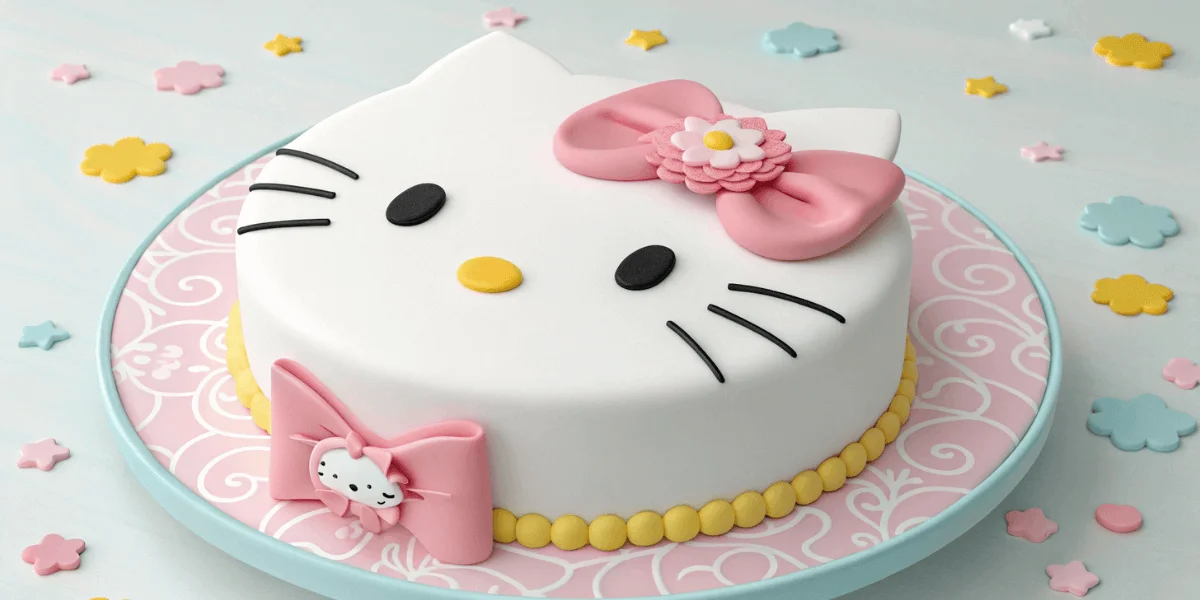
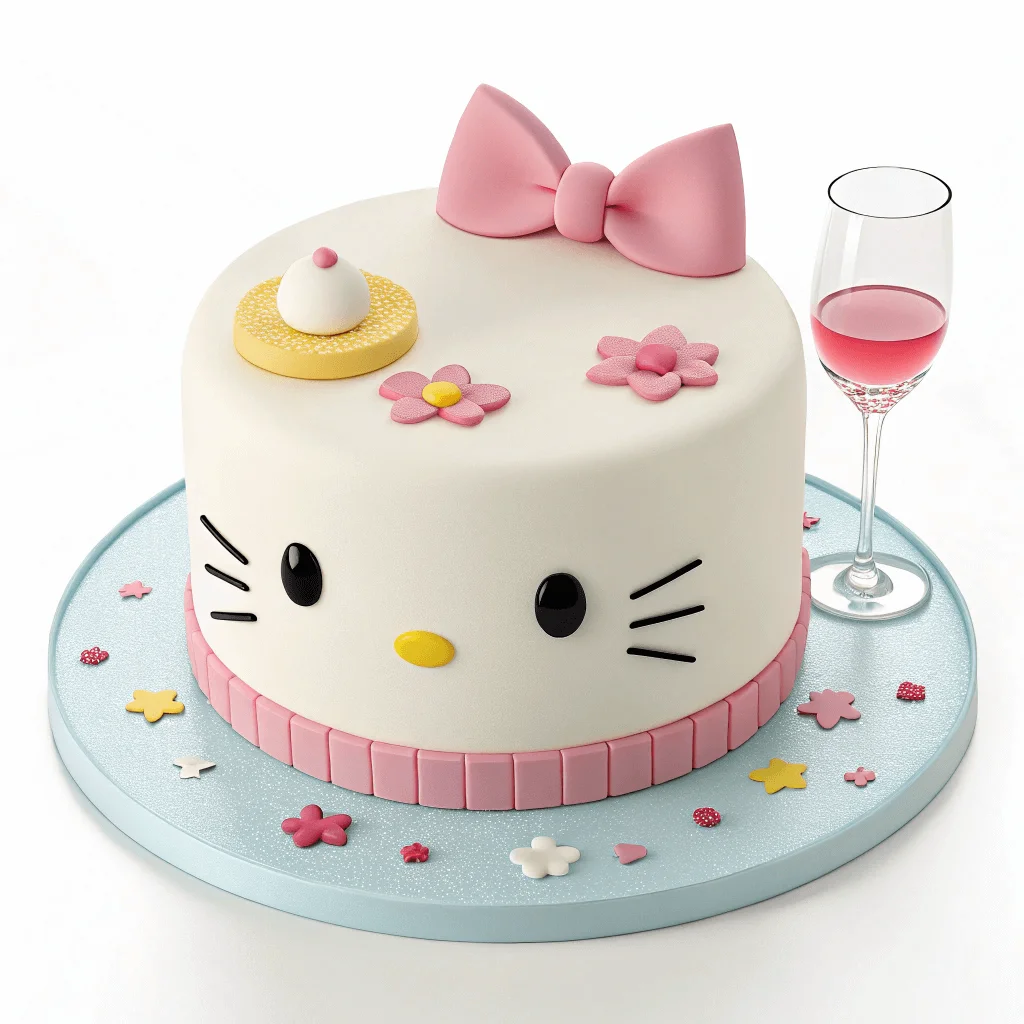
- Hello Kitty Face Cake: Use a round cake as your base and cover it with a smooth layer of white fondant. For the features, cut out black fondant for the eyes, nose, and whiskers, and a pink piece for the bow. This design is simple, recognizable, and easy to recreate.
- Hello Kitty Cupcakes: If you want to make individual treats instead of a whole cake, Hello Kitty cupcakes are a great idea. Simply pipe buttercream frosting into the shape of her face and add fondant details like the bow and whiskers. These are perfect for a kids’ party or as party favors.
- Hello Kitty Cake Topper: If you prefer to focus on decorating a simple sheet cake, you can use a pre-made Hello Kitty cake topper. This is an easy way to get a professional-looking cake without all the decorating effort.
Advanced Hello Kitty Cake Decorating Ideas for Experienced Bakers
If you’re ready to take your skills to the next level, these advanced decorating ideas will challenge you to get more detailed and creative with your Hello Kitty cake:
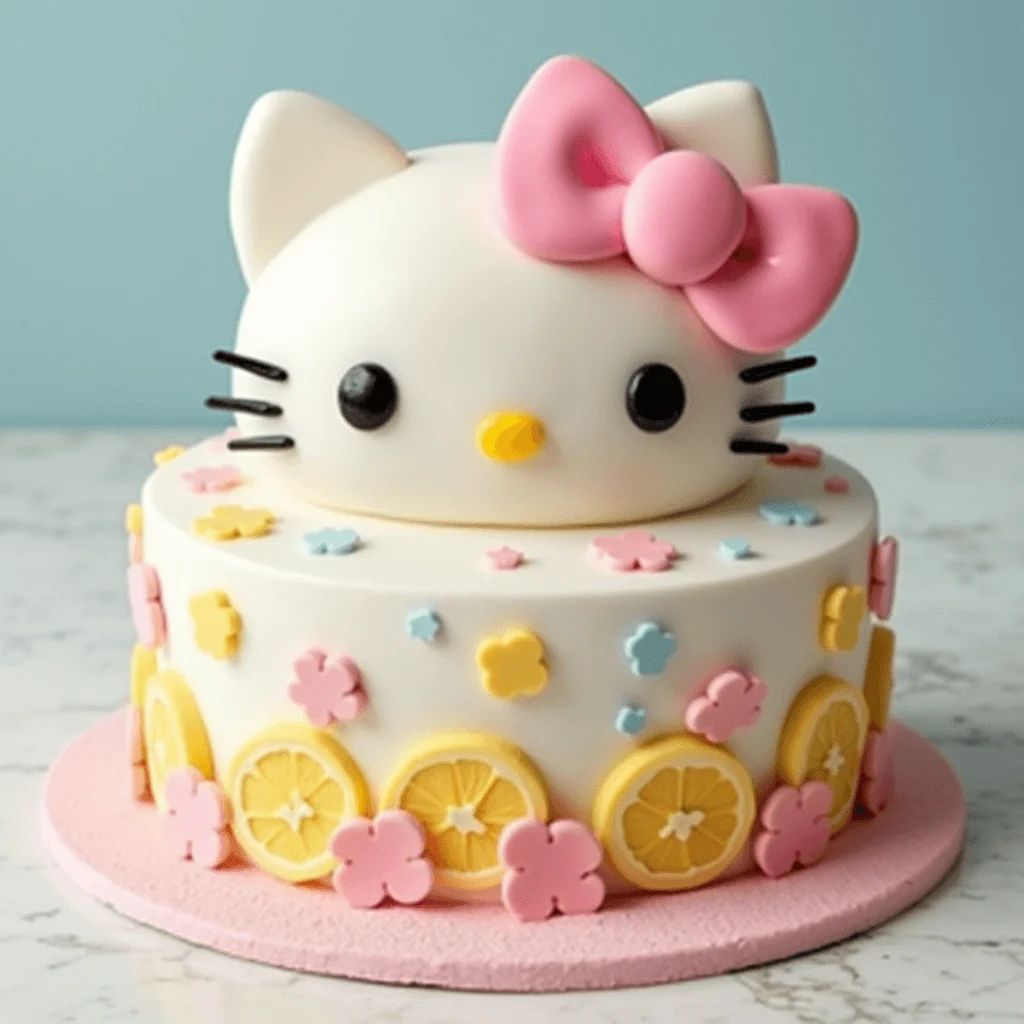
- 3D Hello Kitty Cake: Instead of a flat cake, create a 3D Hello Kitty by baking two round cakes and carving them into the shape of her head. Use fondant for the face and ears, and add extra details like a bow made from modeling chocolate or fondant. This three-dimensional design will wow your guests and leave a lasting impression.
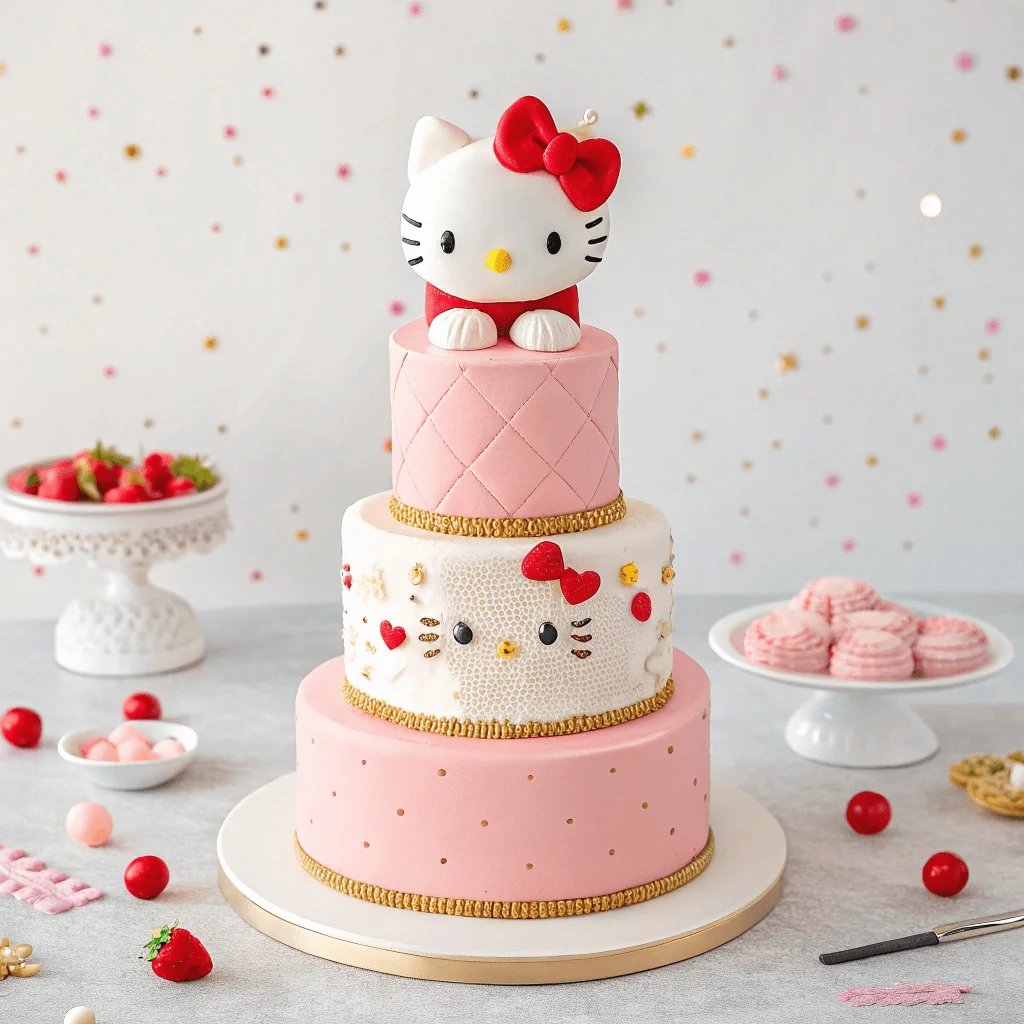
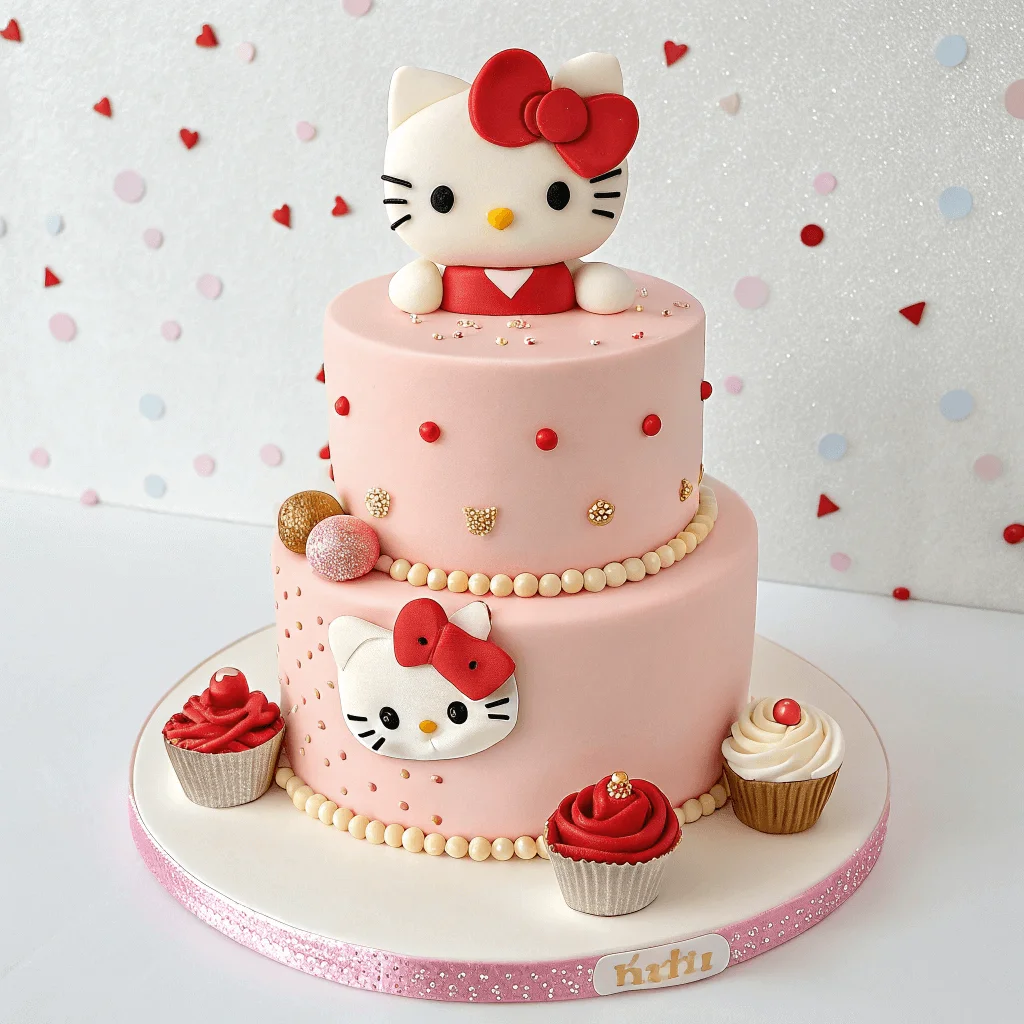
- Layered Hello Kitty Cake: Create a multi-layered cake with different colored frosting layers. Each layer can represent a different color of Hello Kitty’s signature pink and white theme. You can even add different flavors to each layer, such as vanilla, strawberry, or chocolate. Decorate the top layer with Hello Kitty’s face for a fun, modern twist on the classic design.
- Hello Kitty Cake with Sanrio Friends: Combine Hello Kitty with other Sanrio characters, like My Melody or Cinnamoroll, to create a themed cake that celebrates the entire Sanrio universe. You could make individual cakes or cupcakes featuring Hello Kitty and her friends, or create a larger scene on a sheet cake.
Personalizing Your Hello Kitty Cake Design
Personalization is key when creating a memorable Hello Kitty cake. Here are some ideas to make your cake extra special:
- Name or Message: Add the birthday person’s name or a sweet birthday message to your Hello Kitty cake. This can be done with piped buttercream or a fondant cut-out.
- Colors and Themes: Incorporate the birthday person’s favorite colors into the cake design. If they love Hello Kitty but also have a favorite color, you can adjust the cake’s overall color scheme to match. For example, adding lavender, yellow, or blue accents to the cake alongside Hello Kitty’s classic pink and white can give the cake a fresh twist.
- Hello Kitty Theme Party: If you’re making a Hello Kitty cake for a themed party, make sure the decorations match the party style. You can incorporate matching Hello Kitty party supplies, like plates, cups, and napkins, to make everything look cohesive and fun.
Step-by-Step Tutorial: How to Decorate a Hello Kitty Cake at Home
Decorating a Hello Kitty cake at home is a fun and rewarding experience that anyone can enjoy. Whether you’re a seasoned baker or a beginner, following a clear, step-by-step guide can help you create a beautiful cake that brings the beloved character to life. In this tutorial, I’ll walk you through everything you need to know, from prepping the cake base to adding the finishing touches. By the end, you’ll have a delicious and adorable Hello Kitty cake ready to impress your friends and family!
Step 1: Bake and Prepare the Cake Base
Before you start decorating, it’s essential to bake your cake. A simple vanilla cake works great, but you can also use any flavor you like. Here’s how to begin:
- Bake the Cake: Use your favorite cake mix or recipe, and bake it in round cake pans. For a Hello Kitty face design, a 9-inch round cake pan is ideal.
- Cool the Cake: Allow the cake to cool completely before you start decorating. If you try to decorate while the cake is warm, the frosting may melt or slide off.
Step 2: Crumb Coat and Apply Base Frosting
A crumb coat is a thin layer of frosting that seals in any crumbs and gives you a smooth surface for the fondant. Here’s how to apply it:
- Prepare Buttercream Frosting: Make your buttercream frosting by combining butter, powdered sugar, vanilla, and a little milk to get the right consistency.
- Apply the Crumb Coat: Using a spatula, spread a thin layer of frosting over the entire cake to seal the crumbs. Once applied, chill the cake in the fridge for about 15 minutes.
- Add the Base Frosting: After the crumb coat is set, apply a thicker layer of buttercream frosting all over the cake. Smooth it out with an offset spatula for an even surface.
Step 3: Shape and Add Hello Kitty’s Face with Fondant
Now comes the fun part—creating Hello Kitty’s face! You’ll use fondant to shape her features, which is easy to work with and gives your cake a polished look.
- Cover the Cake with Fondant: Roll out white fondant until it’s about 1/8 inch thick. Gently drape it over your cake and smooth it with your hands, making sure there are no wrinkles.
- Create Hello Kitty’s Eyes: Cut two small circles from black fondant for the eyes. Attach them to the center of the face, leaving space for the nose.
- Make the Nose and Whiskers: Roll a small piece of yellow fondant into a ball and flatten it for the nose. For the whiskers, use black fondant, cutting it into thin strips and placing them on either side of the nose.
Step 4: Add the Signature Hello Kitty Bow
The bow is an essential part of Hello Kitty’s look, so let’s make it pop!
- Shape the Bow: Roll out pink fondant and cut two oval shapes for the bow’s loops. Then, roll a small piece of pink fondant into a ball and shape it into the center knot of the bow.
- Attach the Bow: Place the bow on the top of the cake, slightly off-center, as Hello Kitty’s bow usually sits on her right ear.
Step 5: Final Touches and Personalization
Your Hello Kitty cake is nearly complete! To make it extra special, consider adding a few personal touches.
- Decorate the Cake Board: You can decorate the base of the cake with a simple border of frosting or edible glitter for a fun, festive look.
- Personalize the Cake: If this cake is for a special event, like a birthday, you can add a message or the birthday person’s name. Use buttercream frosting or fondant letters for this.
Step 6: Let It Set and Enjoy
Once you’ve added all the finishing touches, place your cake in the fridge to allow it to set. This ensures that all the fondant and frosting stay in place and harden slightly. After that, your Hello Kitty cake is ready to be served!
Conclusion: Your Perfect Hello Kitty Cake Awaits
Creating a Hello Kitty cake is not just about decorating a dessert—it’s about bringing joy, creativity, and fun into your kitchen. From the simple yet adorable design of her face to the more intricate, multi-layered cakes, Hello Kitty provides endless inspiration for bakers of all skill levels. With the step-by-step instructions and creative ideas outlined in this guide, you now have the tools to craft a stunning cake that will leave everyone smiling.
Whether you’re celebrating a birthday, throwing a Hello Kitty-themed party, or just indulging in a personal baking project, your cake can capture the magic of this beloved character. By using the right tools, ingredients, and a bit of creativity, you can design a Hello Kitty cake that not only looks fantastic but also tastes delicious.
Remember, cake decorating is an art, and just like with any craft, practice makes perfect. Don’t be afraid to experiment with different designs, colors, and techniques—your Hello Kitty cake will evolve with your growing skills.
Frequently Asked Questions (FAQs) About Hello Kitty Cakes
Creating a Hello Kitty cake can be an exciting, yet sometimes challenging, experience, especially if it’s your first time. But don’t worry—whether you’re a novice baker or a seasoned cake decorator, we’ve gathered the most common questions people have when it comes to Hello Kitty cakes. These FAQs will help you navigate the process and ensure your cake turns out perfectly every time.
1. How do I make a Hello Kitty cake from scratch?
Making a Hello Kitty cake from scratch is simpler than you might think. Here’s a quick overview of the process:
- Baking the Cake: Start by baking a round cake using your favorite recipe. Vanilla is a popular choice for Hello Kitty cakes, but feel free to experiment with different flavors.
- Frosting and Fondant: Apply a crumb coat of buttercream frosting to seal in the crumbs, then cover the cake with fondant for a smooth, professional look.
- Designing Hello Kitty’s Face: Use fondant for creating her eyes, nose, whiskers, and bow. This is where you can get creative with colors and shapes!
The key to a beautiful Hello Kitty cake lies in simplicity. Use minimal ingredients but focus on clean lines and the adorable details that define Hello Kitty’s face.
2. What colors should I use for a Hello Kitty cake?
When decorating a Hello Kitty cake, the classic color palette is pink, white, and black. Here’s how to incorporate these colors:
- White for the base of the cake and Hello Kitty’s face.
- Pink for the bow and accents around the design.
- Black for her eyes, whiskers, and other small features.
Feel free to get creative with additional colors for a unique twist. For example, adding lavender or yellow accents can make your Hello Kitty cake even more personalized.
3. How can I make a 3D Hello Kitty cake?
If you want to elevate your Hello Kitty cake design, a 3D version can be an impressive and fun choice. Here’s how you can create one:
- Bake Two Round Cakes: Use two round cakes to form the base of Hello Kitty’s head. You can stack them and carve the shape of the face, making sure to leave room for her ears and bow.
- Shape the Face: After stacking and trimming, cover the entire cake with a layer of buttercream and then fondant for a smooth finish.
- Add 3D Features: Use fondant to create Hello Kitty’s 3D features, such as her bow and whiskers. You can use cake supports to keep the structure intact.
A 3D Hello Kitty cake requires more time and effort, but the result is a stunning, lifelike design that will wow your guests.
4. Can I use store-bought fondant for my Hello Kitty cake?
Yes! If you want to save time or don’t have experience making your own fondant, store-bought fondant works perfectly. It’s available in most baking supply stores and can be easily rolled out and applied to your cake. You can also find it in various colors, making it convenient for creating Hello Kitty’s iconic look without needing to mix and color the fondant yourself.
However, if you prefer a homemade touch, you can always make fondant at home using marshmallows, powdered sugar, and a few other simple ingredients.
5. What’s the best way to store a Hello Kitty cake?
To keep your Hello Kitty cake fresh, store it in an airtight container or cover it with plastic wrap. Place it in the refrigerator if you’re using buttercream or fresh fillings, as these ingredients can spoil at room temperature. If your cake is entirely made from fondant and doesn’t have any perishable fillings, it can be stored at room temperature for a couple of days.
If you’re planning to make your cake ahead of time, consider freezing the cake before decorating. This will help keep it moist and make frosting and fondant application easier.
6. How can I make my Hello Kitty cake extra special?
Personalizing your Hello Kitty cake is a great way to make it unique. Here are a few ideas:
- Add a Birthday Message: Use buttercream or fondant to add a personal message or the birthday person’s name.
- Theme the Party: Coordinate the cake design with the rest of your Hello Kitty-themed party decorations for a cohesive look.
- Incorporate Additional Characters: If you love Hello Kitty’s friends, consider including characters like My Melody, Keroppi, or Cinnamoroll in the cake design.
Are You Try This Recipe ?
There are no reviews yet. Be the first one to write one.
